Photo: Collected
Last Update: Saturday January 31, 2026
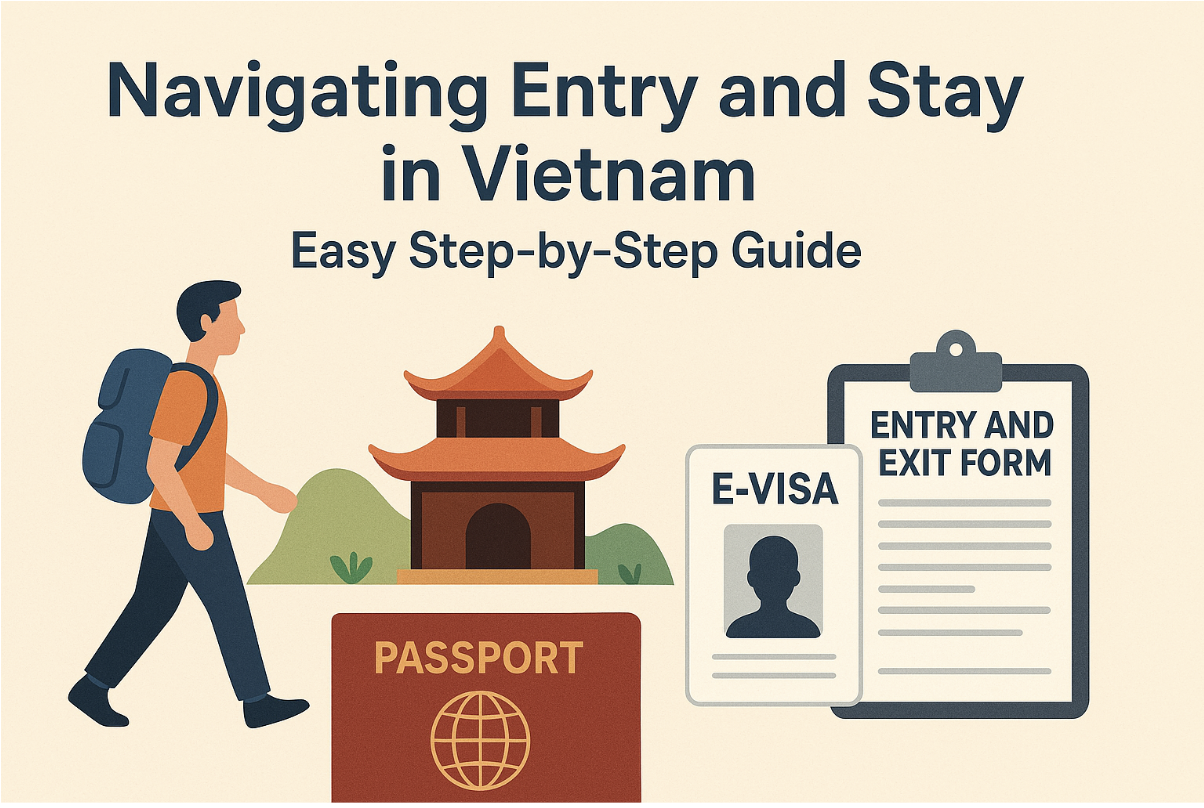
Planning a visit to Vietnam soon? For tourism, business, or long-term living, understanding visa rules and immigration rules is the key to an incident-free experience. We make the process easy so that you can focus on enjoying Vietnam's rich culture, stunning landscapes, and warm people.
Below is an easy-to-follow, step-by-step guide to help you from application to arrival—and during your stay.
The first task before proceeding to Vietnam visa is to identify the most appropriate visa type for the reason you're visiting. The most popular are:
E-Visa: Single entry with a validity of up to 30 days. Ideal for short visits.
Visa on Arrival (VOA): It must be pre-approved using a letter. Ideal for tourists who need more flexibility.
90-Stay or 3 Months Duration Visa: For visitors who need longer stays, Vietnam now provides up to a 90-day stay duration on certain visa types.
Business Visas & Temporary Residence Cards: Best for working, studying, or more long-term residency.
Tip: Not all nationalities can access each option.
Complete the online application form
Upload your passport scan and photo
Pay the service fee
Obtain your e-visa or approval letter via your registered email address
Processing times vary, but urgent requests can often be handled within hours.
Before boarding your flight, make sure you have:
A valid passport (minimum 6 months validity)
A printed copy of your e-visa or VOA approval letter
Entry and Exit Form (for VOA applicants, this is required at the airport)
Passport-sized photos (if applying at the VOA counter)
Missing documents may cause delays or denied boarding, so prepare these in advance
According to the required documentation above upon your arrival in Vietnam, we can clearly see that a Visa on Arrival will be more complicated and hassle than an Electronic Visa (eVisa). That is the reason why we normally advise our customers (except for the special or difficult nationalities) to apply for an electronic visa to avoid any inconvenience.
When you arrive in Vietnam (Hanoi, Ho Chi Minh City, or Da Nang airport), the process depends on your visa type:
E-Visa Holders: Go directly to immigration counters with your printed visa and passport
VOA Holders: Submit your approval letter, entry and exit form, passport photos, and stamping fee at the Visa on Arrival counter before passing through immigration
It is essential to know the max stay allowed on your visa to avoid overstaying penalties:
E-Visa: Up to 30 days.
VOA (Tourist/Business): Typically 1–3 months, depending on the visa granted
90-Stay or 3 Months Duration Visa: Allows a maximum stay of 90 consecutive days
Extensions are possible but must be arranged before your visa expires. Our customer agent can assist with extensions or converting to a long-term visa.
Here are some elements you are required to memorize once staying in Vietnam:
Hotels and landlords must register your stay with local authorities.
Always carry your passport or a copy (do not forget to leave it somewhere else accidentally)
If you plan to stay beyond your visa’s max stay, apply for an extension early
For repeated or long-term visits, consider applying for a Temporary Residence Card (TRC)
Navigating Vietnam’s visa and immigration process doesn’t have to be complicated. By preparing your entry and exit form, understanding your max stay, and knowing your options like the 90-stay duration, you can enjoy a stress-free trip.
We provide step-by-step guidance and reliable visa services to make entering Vietnam simple, fast, and secure.
👉 Ready to start your journey? Apply for your Vietnam visa today!
